Awarded as one of the TOP 10 Baby and Children's Products of 2026

Swiss companies

100,000 satisfied parents

Free shipping on orders over 50 € / Fr.

0
LIINI® individual part (7) for baby cradle
Individual part (2) for baby cradle
LIINI® individual part (7) for baby cradle
Individual part (2) for baby cradle

Bestseller! Über 100'000 Familien nutzen LIINI

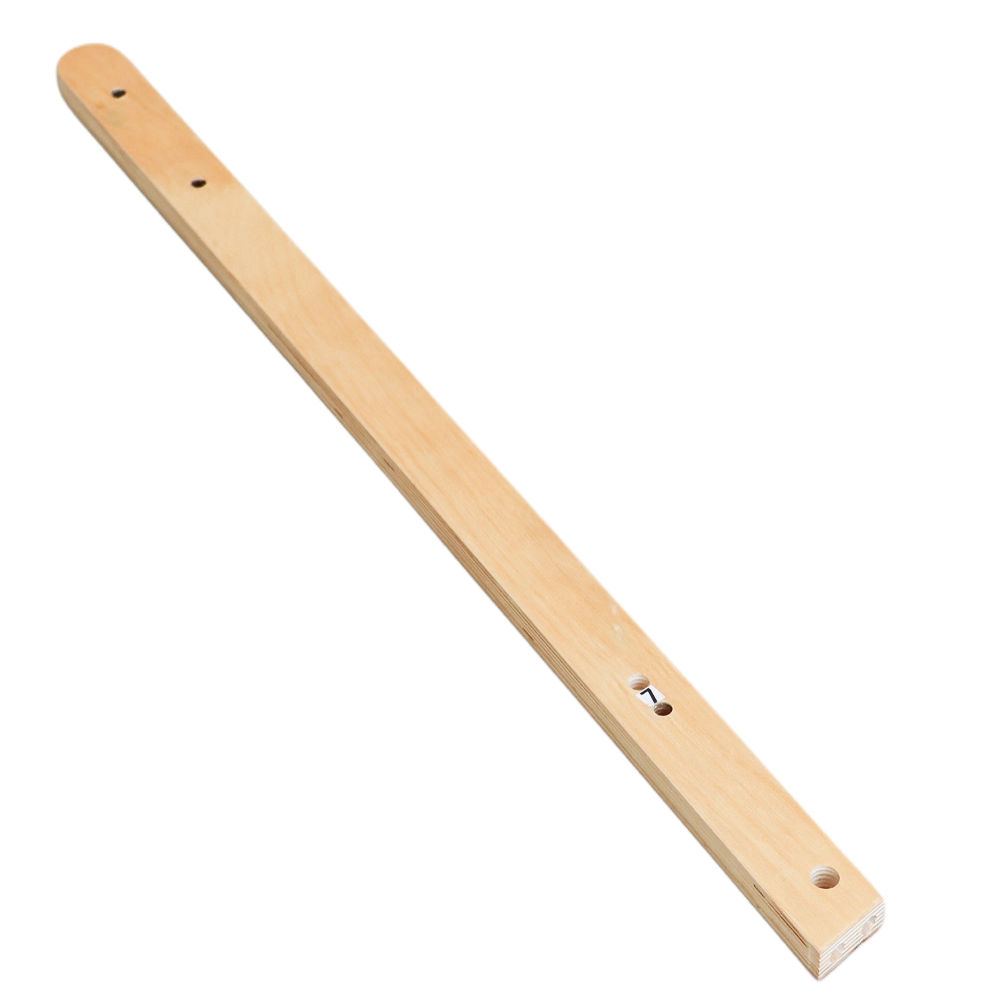
LIINI® Individual part (7) for baby cradle

🔩 Contains the side rail on the right (single piece) for the baby cradle with no. 7

Spare part for the environment

💡In the event of loss or defect of the individual component

19.95CHFincl. VAT

In stock – with you in 1–2 working days

Schweizerische PostShipped with Swiss Post

In stock

Secure payment with
TWINTPayPalKlarnaVisaMastercardApple PayGoogle Pay
Bought over 100,000 times · most recently today
Ships from Swiss warehouse, no customsFree shipping from CHF 50Easy returnsSupport 7 days a week
Welches Teil ist das?

1× Einzelteil Nr. 7 zur LIINI® Babywiege: die Seitenstrebe rechts. Die Nummer findest du in deiner Aufbauanleitung.

Ersatzteil statt neue Wiege

Ein Missgeschick beim Aufbau oder ein defektes Teil? Kein Problem – und vor allem kein Grund für eine neue Wiege. Genau dafür gibt es bei uns jedes Bauteil einzeln: gut fürs Portemonnaie, gut für die Umwelt.

Passt zu welcher Wiege?

Zu allen LIINI® Babywiegen – das Holzgestell ist bei allen Farben identisch. Die Teilnummer findest du in deiner Aufbauanleitung; unsicher, welche Nummer du brauchst? Schick unserem Support ein Foto, wir antworten 7 Tage die Woche.

Sicherheit im Umgang mit der Wiege

Die Wiege ist für Neugeborene und Babys gedacht, die sich noch nicht selbstständig aufsetzen, umdrehen oder hochdrücken – und bis maximal 9 kg. Danach ist es Zeit fürs nächste Bett. Immer auf stabilem, ebenem Untergrund aufstellen.

Versand & Rückgabe

Wir sind ein Schweizer Unternehmen: Versand ab unserem CH-Lager mit der Schweizerischen Post – in 1–2 Werktagen bei dir. Gratis Versand ab CHF 50.–. Retouren unkompliziert, Support 7 Tage die Woche.

Olivia and Mike from LIINI

By parents, for parents—from Switzerland

LIINI was created in 2021 because having warm milk on the go was an unsolved problem. Today, more than 100,000 families rely on our everyday helpers—developed in Switzerland, tested at 3 a.m. And if something isn’t working right: Our support team is still available even when others have already started their weekend.

Keep sleeping wherever you go.

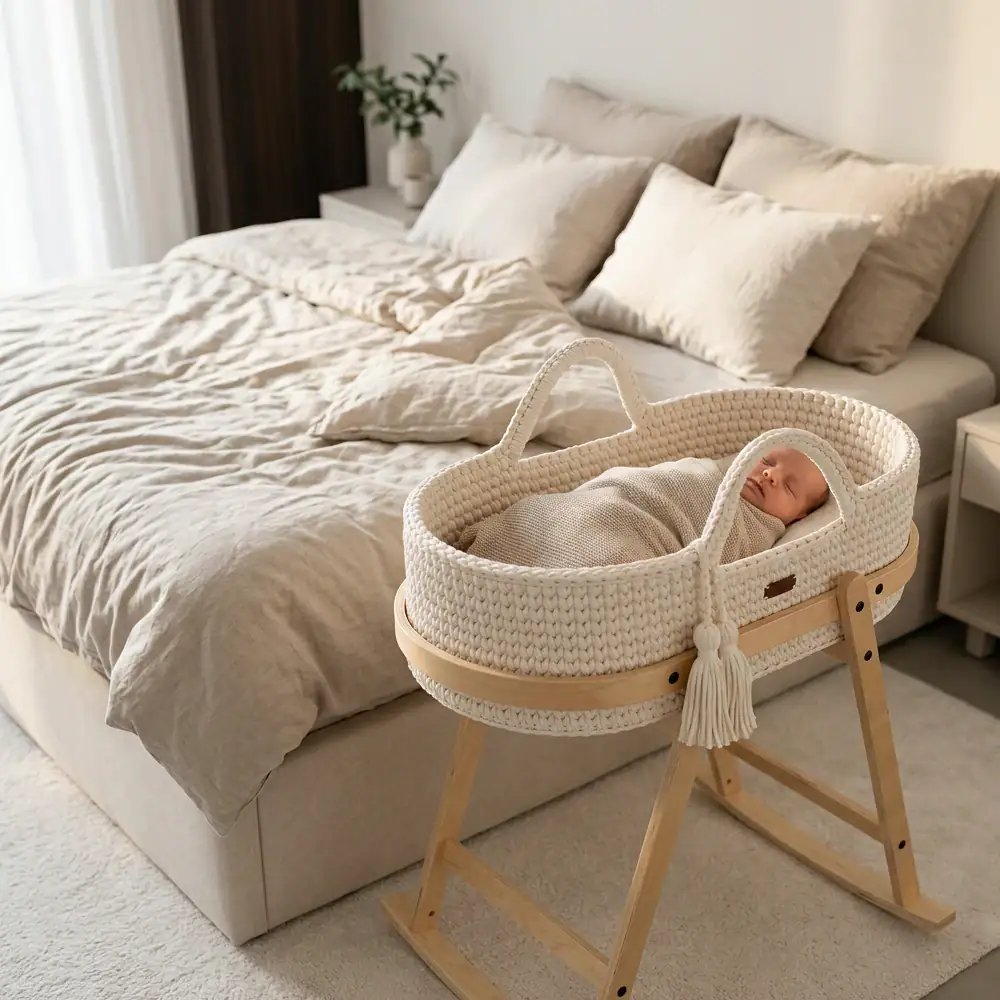
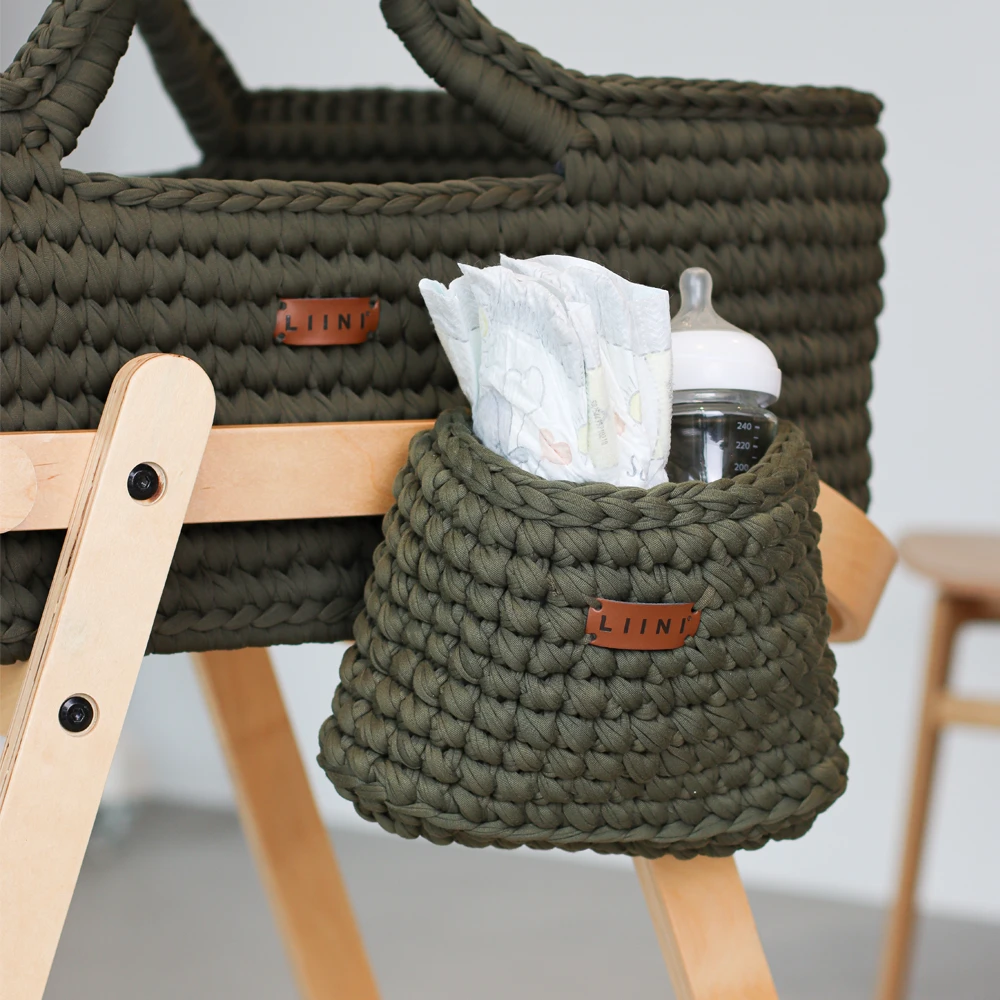
The hand-crocheted Moses basket is lifted out of the frame by its handle—from the stroller into the house, from the living room to the patio. The side pocket holds diapers or a baby bottle, and the anti-tip feature on the frame keeps the basket securely in place. This way, your baby stays close to you while you go about your day.

Hand-crocheted. Made for little hands.

The Moses basket is hand-crocheted from cotton, and the frame is made of poplar and birch. The muslin mattress cover has a zipper—just remove it, wash it at 30 °C, and you’re done.

Tested in accordance with DIN EN 1466:2023: stable, tip-resistant, well-ventilated, up to 9 kg. And because honesty is part of what LIINI stands for: The cradle is designed for daytime naps and when you’re on the go —not as a permanent place to sleep at night.

Gentle. All by itself.

One little nudge is enough – the cradle swings out softly, just like at home.
Gentle. All by itself.
Give me a nudge!
 

In 20–30 Minuten aufgebaut.

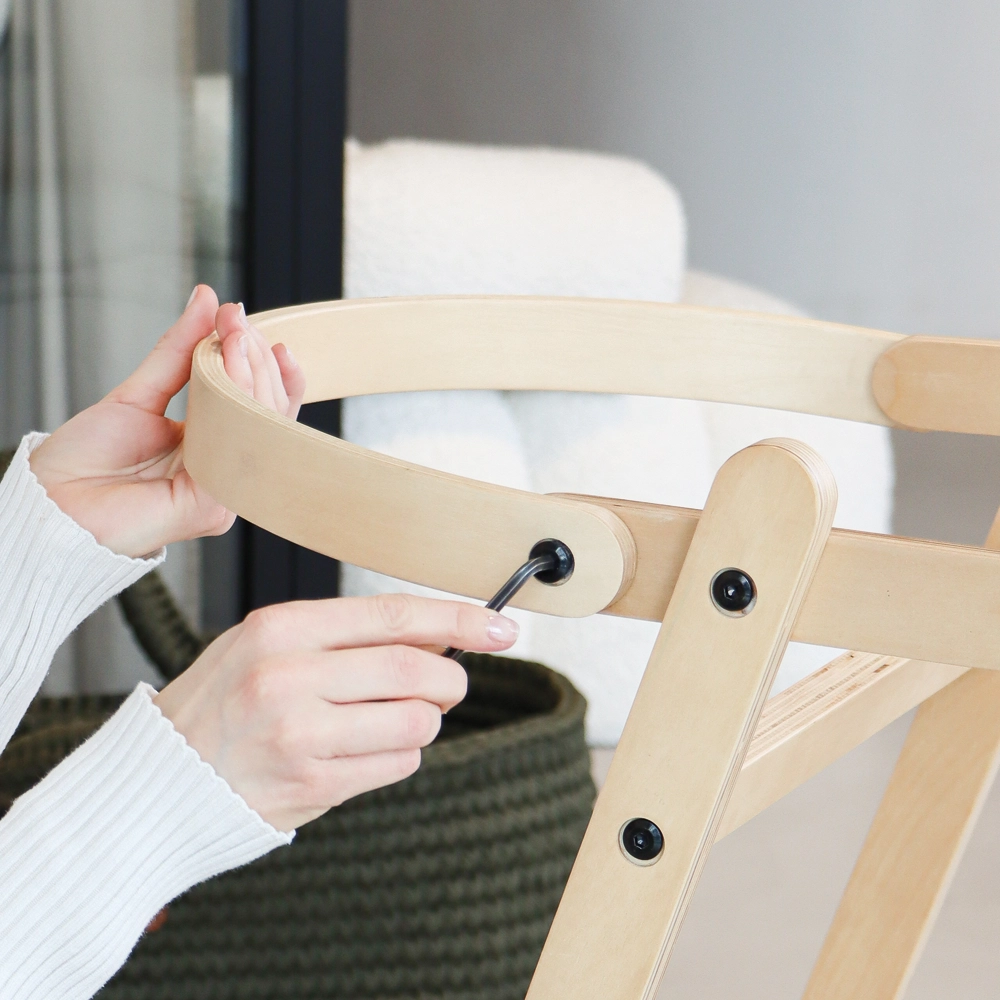
Am besten zu zweit – gemeinsam macht's mehr Spass. Der Sechskant-Schlüssel liegt bei, Maschinen bleiben im Schrank.
1Auslegeordnung machenAlle Teile und die Beutel A–F übersichtlich auslegen.
2Seitenteile vorbereitenHolzdübel (C) in die Vorbohrungen von Teil (4), (6) und (7) stecken.
3Rundmuttern einsetzenRundmuttern (B) in die Öffnungen von Teil (5), (6) und (7) – Einbaurichtung beachten.
4Beine verschraubenBeine (5) mit den Seitenteilen verbinden – Schrauben (A), Sechskant (E), keine Maschinen.
5AuflockerungsübungenMit älteren Geschwistern dauert's auch mal länger – Turnpause schadet nicht. 😜
6Obere Querstreben anbringenRundmuttern (B) einsetzen, Querstreben (3) mit den Seitenteilen verschrauben.
7Untere Querstreben anbringenGleiches Spiel mit den unteren Querstreben (4) – Schrauben (A).
8Seitenteile verbindenBeide Seitenteile verschrauben, Streben parallel ausrichten.
9Moseskorb-Halterungen anbringenBeidseitig mit Schrauben (D) – Gewindeeinsätze zeigen nach aussen.
10Fallschutz verschraubenFallschutz (2) mit Schrauben (F) – Holz von Hand halten, zu zweit geht's leichter.
11Moseskorb einsetzen – fertig!Sichtprüfung machen und alle Schrauben nachziehen. 🥳
Lieber als PDF für unterwegs? LIINI® Babywiege – Anleitung im Handbuch
LIINI® individual part (7) for baby cradle
You're viewing: LIINI® Individual part (7) for baby cradle19.95CHFincl. VAT
Add to cart

How to find the perfect ring size

Do you already have another ring at home?

Yes - measure ring

If you already have a good fitting ring, you can use that to determine the size.

Step 1: Prepare material

  • An existing ring that fits well
  • A ruler or tape measure
  • A pen and a sheet of paper

Step 2: Measure the existing ring

Lay the existing ring flat on a flat surface. Make sure that it does not deform or twist. Use the ruler or tape measure to measure the inside diameter of the ring. This is the distance from one inner edge to the opposite inner edge of the ring. Note the measurement in millimeters.

Step 3: Compare with our size chart

Now compare the measurement you noted with our size scale and choose the appropriate ring size.

No - Measure finger

If you don’t have a matching ring at home, you can easily determine your size with the following procedure.

Step 1: Prepare material

  • A thin strip of paper or a piece of string
  • A pen
  • One pair of scissors
  • A ruler or tape measure

Step 2: Measure the circumference of the finger

Wrap the thin strip of paper or string around the finger you want to wear the ring on. Make sure the strip fits snugly, but not too tight or too loose. Use a pencil to mark the place where the strip or string overlaps.

Step 3: Check the size

To make sure that the determined ring size is correct, you can wrap the thin paper strip or string around your finger again and place the ring on it. Check that it fits comfortably and is not too loose or too tight. Repeat this step if necessary to find the optimal size.

Tip: If you want more accurate measurements, you can repeat the process several times and take the average of the measurements.

Step 4: Compare with our size chart

Now compare the measurement you noted with our size scale and choose the appropriate ring size.

Size chart

SizeInner diameter
116.5 mm
217.3 mm
318.1 mm

LIINI® Ring template

Don’t worry too much about your ring size.

After your order you will immediately receive our LIINI fingerprint kit.

Included are original and pre-cutring templates to try on.

So you can always change to a smaller or larger ring before engraving in the worst case.

0