
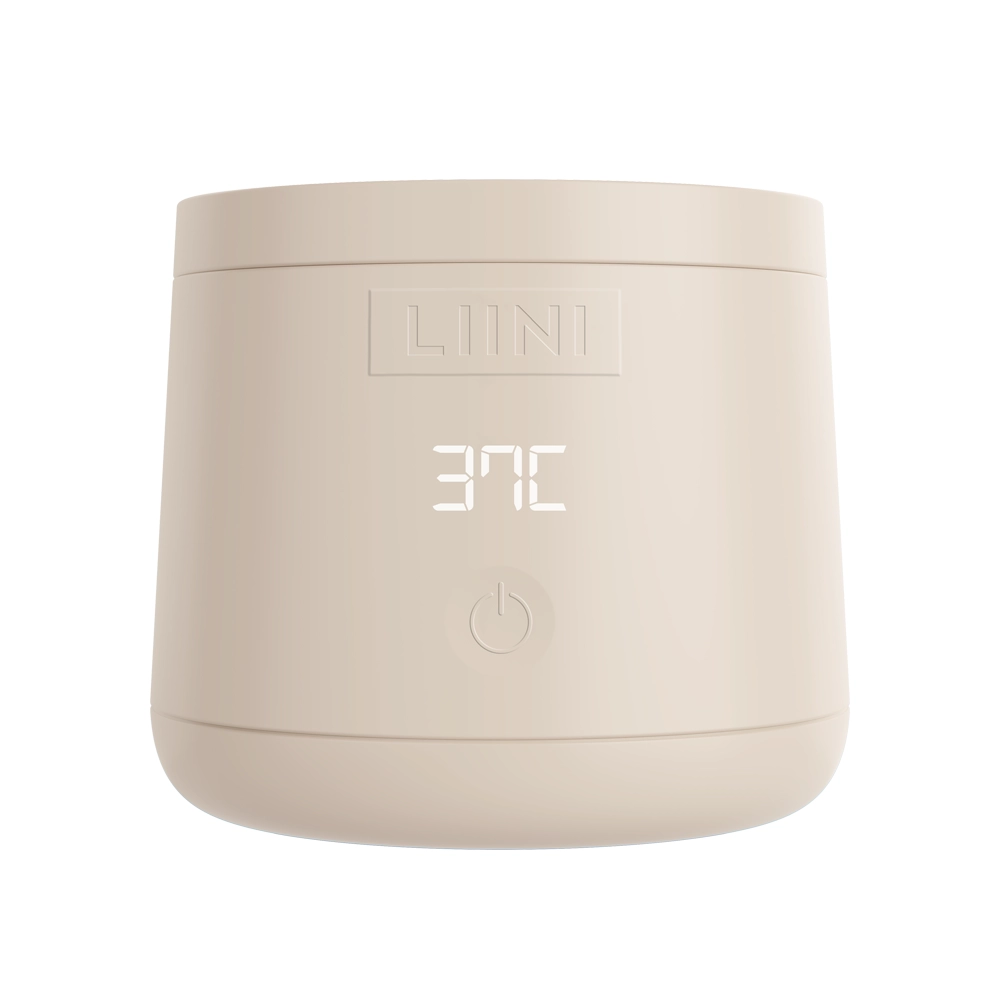
 4.0 PRObattery · on the go
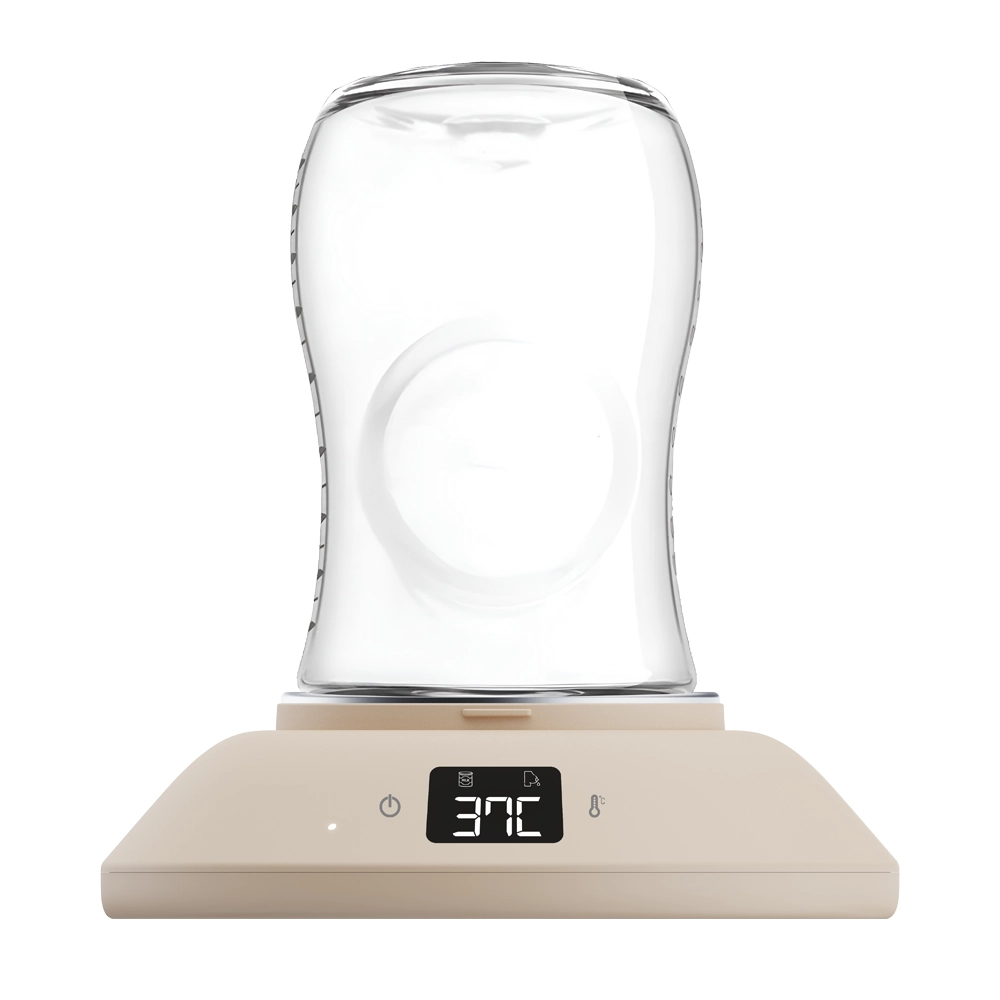 Home 230Vfor home
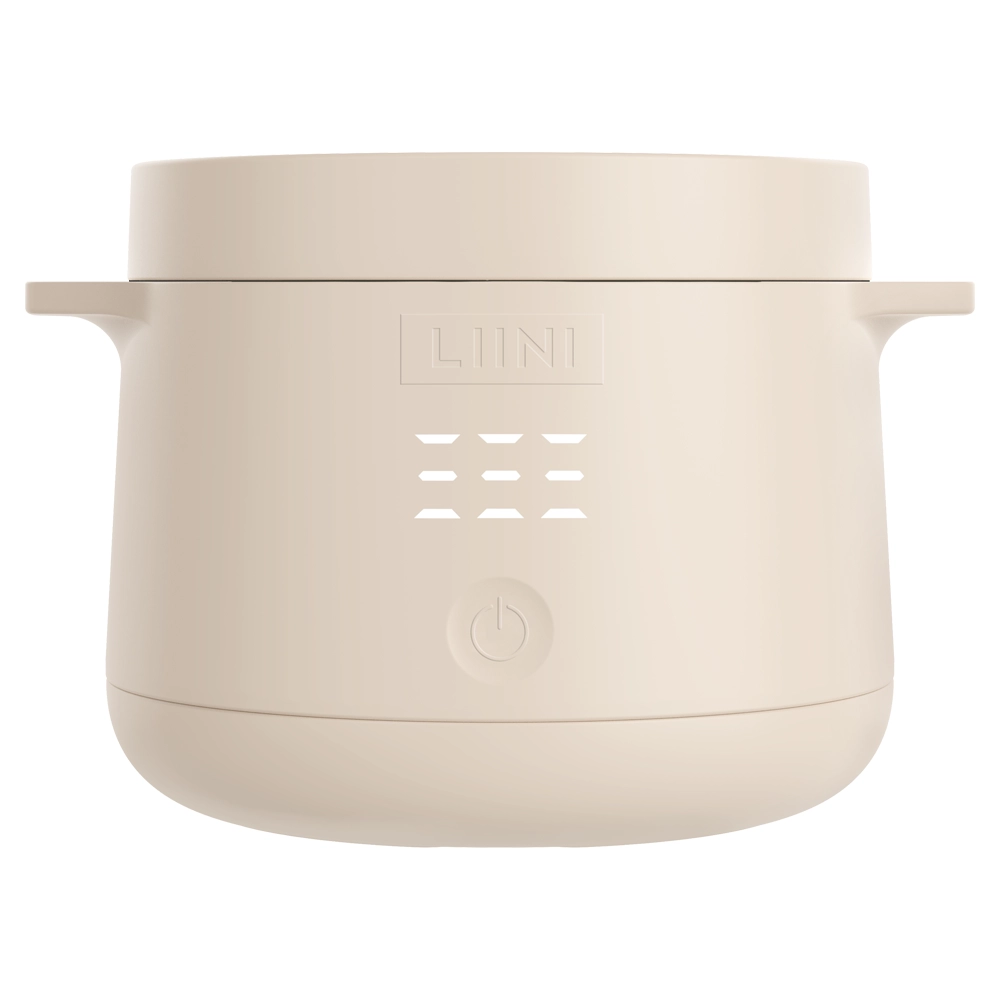 Baby food warmersfrom 6 months
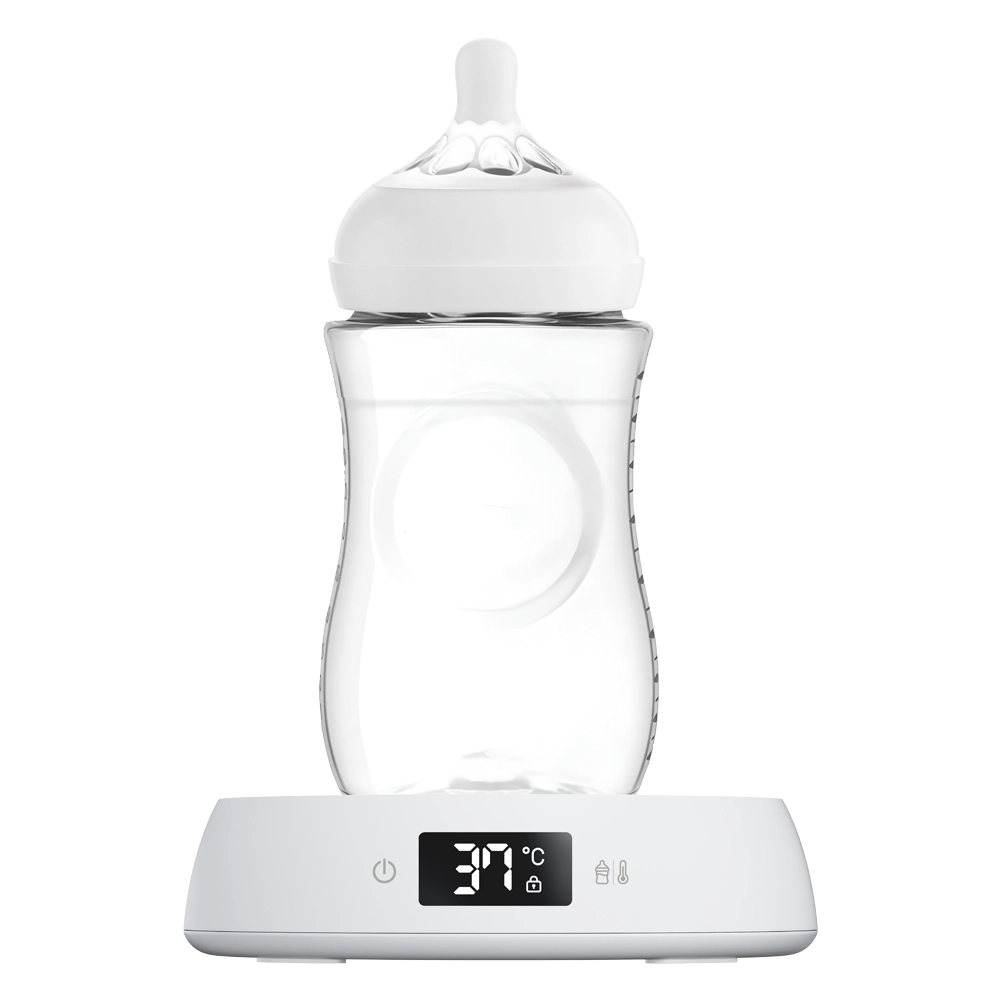 Night Stationfor the night




 Cleaning Wipes Monthly Pack
 Home & 2Go Bundle
 Formula Dispenser Avent
 Baby Bottle Bundle
















 Feeding
LIINI® Breast Pump - Manual
Table of contents
Safety instructions
Important information about the safety of your LIINI® product.
Even in your own shoe to unload.
Don’t you understand? Yes, Swiss German sometimes sounds a bit strange.
This is precisely why we have provided the safety, application and cleaning instructions in your language for download below.









GPSR
- Safety testing: All our products are regularly tested to ensure that they do not pose a risk to health or safety.
- Transparent documentation: We ensure that all important information about the safe use of our products is clear and understandable.
- Traceability: Each product is provided with information on the manufacturer, importer or sales partner to enable seamless tracking.
You will find all relevant safety documents as well as application and cleaning instructions in a total of 9 languages by clicking on the button below.
Technical data
All the technical details about the breast pump

Certifications
The LIINI® Breast pump has all the important approvals and meets the high safety and health standards of the EU & Switzerland.
- CE-certified: Our breast pump is of course CE-certified and complies with the regulations applicable in the EU.
- RoHs certified: The breast pump has been thoroughly tested for harmful ingredients and meets the applicable maximum levels for hazardous substances.

Dimensions / battery
Dimensions:
- Height: 139 mm
- Width: 64 mm
- Weight per pump: 289g
- Capacity: 180ml breast milk
Programming:
- Stimulation mode
- Pump mode
- 5 intensity levels (pumping)
Battery:
- Lithium-ion battery with 1’800mAh
- Charging voltage: 5V
- Charging current: max. 3A
- Allowed in hand luggage on all flights


Vacuum strength of the different stages
The LIINI® breast pump extracts breast milk with 5 different intensity levels:
In stimulation mode:
- Level 1: 45.00 mmHg
- Level 2: 60.00 mmHg
- Level 3: 75.00 mmHg
- Level 4: 97.50 mmHg
- Level 5: 120.00 mmHG
In pump-down mode:
- Level 1: 120.00 mmHg
- Level 2: 150.00 mmHg
- Level 3: 180.00 mmHg
- Level 4: 210.00 mmHg
- Level 5: 247.50 mmHg
At level 5, the performance of the breast pump is the same as that of conventional pumps with tubes.

Spare parts for LIINI® Breast pump
You can find all spare parts for the pump here or in the store

LIINI® breast nipple insert 15 / 17 / 21 mm
9.95CHFincl. VAT
This product has multiple variants. The options may be chosen on the product page

LIINI® Replacement seal for milk powder dispenser
5.95CHFincl. VAT
This product has multiple variants. The options may be chosen on the product page
Everything you need to know before first use
Consider these points before using the pump for the first time

Fully charge
The breast pump must be fully charged before first use using the LIINI® charging cable supplied.
Only use our LIINI® charging cable for charging!

Boil all components
Before first use, all plastic / silicone components should either be sterilized in a sterilizer or boiled in boiling water.
The housing must not be sterilized or boiled! Only use mild cleaning agents to clean the housing – ideally a damp cloth .


Check scope of delivery
After receiving your LIINI® breast pump, check the scope of delivery:
- 1x LIINI® Breast pump
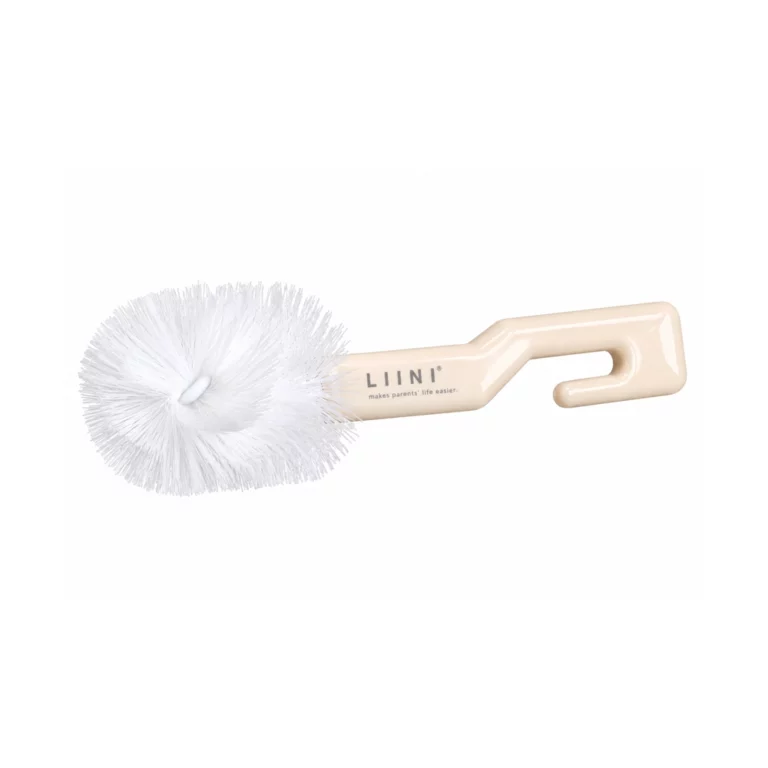
- 1x LIINI® Cleaning brush
- 1x LIINI® Silicone cushion 25 mm (already installed)
- 3x LIINI® Breast nipple insert (15 / 17 / 21 mm)
- 1x LIINI® Breast milk container (already installed)
- 1x LIINI® Valve (already installed)
- 1x LIINI® Vacuum unit (already installed)
- 1x LIINI® Fabric USB-C charging cable (without adapter)
- 1x LIINI® Bra enlargement band

Correct assembly of the breast pump
To ensure proper operation of the LIINI® breast pump, it must be ensured that all components are correctly installed.
In the adjacent picture you can see an exploded view with the corresponding legend of the breast pump.


Nipple guide
Find the perfect insert for your breasts with our nipple guide.
- Hold your upper body upright and stimulate your breast to make your nipple stand up. Carry out the measurements on both breasts separately, as the nipples may differ.
- Now place the card on your chest and insert the nipple through the individual holes until the card rests completely on your chest. The areola is not relevant for measuring the correct insertion.
- Now select the appropriate stakeusing the table on the card.

How To - The control panel
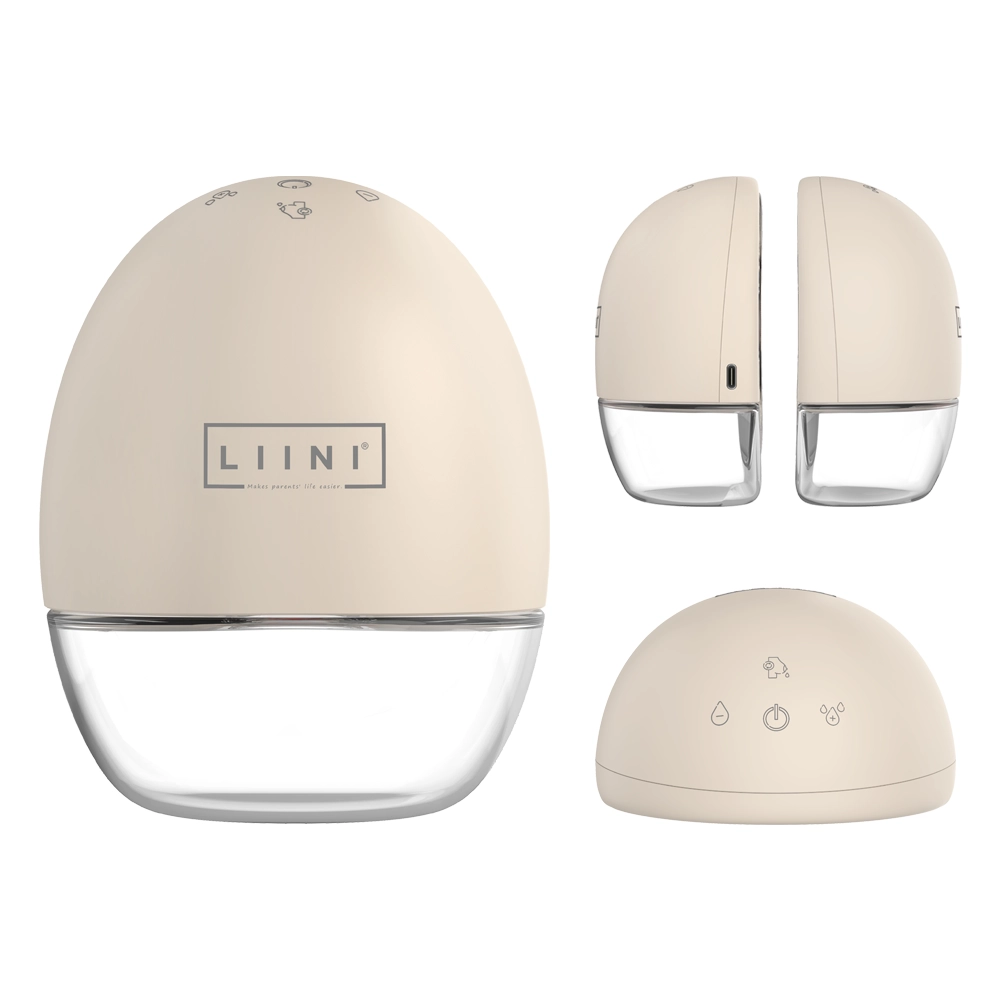
With just 4 touch buttons, operating the LIINI® Breast pump is as easy as can be:
- On/off button: You start the breast pump with a 3-second touch. To switch off, touch the touch area again for 3 seconds. If you want to pause pumping, simply press the touch button briefly
- Switch mode: With a simple touch, you can switch between the two modes of stimulation and pumping.
- Decrease the pump strength: Press the touch button with the minus sign to reduce the pumping strength
- Increase the pump strength: Press the touch button with the plus sign to increase the pumping strength


Assembling the LIINI® breast pump
Follow these instructions after cleaning the pump

1. Install valve and diaphragm
All components must be 100% dry before assembly. Corresponding moisture can lead to leaks!
Install the valve ( 1) in the lower section of the vacuum unit (2). You can simply push the valve (1) over as far as it will go.
Install the membrane ( 3) in the upper area of the vacuum unit (2). Make sure that the edge of the membrane ( 3) is evenly positioned everywhere (no air passage).

2. Insert vacuum unit
You can now insert the assembled vacuum unit (4) into the housing (5 ) of the LIINI® breast pump. Press the vacuum unit (4) upwards in the housing (5) so that the diaphragm (3) seals tightly with the housing.

3. Screw on the breast milk container
Now screw the breast milk container (6) clockwise to the housing (5). Make sure that the thread of the breast milk container (6) is not tilted during screwing.

4. Insert silicone pad
Now take the silicone cushion (7) and install it in the LIINI® breast pump.
Important: Make sure that the silicone pad (7) is fully seated on the housing and that the marking line (red) on the silicone pad is pointing upwards.

5. Insert breast nipple inserts
Almost there! If the silicone cushion with 25 mm opening (7) is too large for you, you can now insert the matching breast nipple insert using our nipple guide.
- Breast nipple insert 15 mm (8): For nipple diameter 11-13 mm
- Breast nipple insert 17 mm (9): For nipple diameter 13-15 mm
- Breast nipple insert 21 mm (10): For nipple diameters 15-19 mm
- Silicone cushion 25 mm (7): For nipple diameter > 19 mm
Step-by-step instructions
How to use the LIINI® breast pump

1. Position the LIINI® Breast pump correctly
Correct positioning of the breast pump is extremely important. Only by placing the LIINI® breast pump correctly can you achieve the appropriate comfort during pumping and thus increase the amount of breast milk extracted.
Place the LIINI® breast pump in your nursing bra and make sure that your nipple is centered in the silicone cushion or corresponding nipple insert.

2. Adjust your nursing bra
The LIINI® Breast pump must be pressed against your breast with the appropriate pressure through your nursing bra.
Make sure that there are no gaps between your breast and the breast pump. For this reason, it is important that you adjust thestraps of your nursing bra accordingly.
If your nursing bra is not adjustable, you can use the bra enlargement band included in the scope of delivery.

3. Start the LIINI® Breast pump
Now start the LIINI® Breast pump by touching the on/off button for at least 3 seconds.
The breast pump now starts to stimulate the milk flow in stimulation mode.After 2 minutes, the breast pump automatically switches to pumping mode.
You can also switch to pump-down mode manually as you wish – just touch the mode button briefly.
If you want to pause pumping, you can briefly touch the on/off button. The pump switches off automatically after 5 minutes at the latest if you do not restart it.
4. Adjust the intensity to your needs
The vacuum of the breast pump is adjustable and can be adapted to your needs using a total of 5 intensity levels. For example, there are days when the nipples are more irritated than usual. Simply adjust the intensity.
To change the intensity, simply briefly touch the area of the two touch buttons with the plus and minus. The corresponding level is shown on the LED display.
Tip: A strong vacuum does not necessarily have to be associated with an increased amount of breast milk – quite the opposite. Always operate the pump at a level that is comfortable for you.

5. Switch off the pump
Expressed enough breast milk? You can then switch the breast pump off with a 3-second touch of the on/off button.
Carefully remove the breast pump from your nursing bra.

6. Storing breast milk
You can store the breast milk directly in the container with the lid closed in the fridge.
Freshly expressed breast milk can be stored in the refrigerator (4°C) for up to 8 days. This recommendation is based on ABM Clinical Protocol No. 8: Storage of Breast Milk, published by the Academy of Breastfeeding Medicine.

6. Clean components
All plastic and silicone parts can be easily sterilized in a sterilizer or boiled in boiling water.
We recommend mild cleaning agents and a damp cloth for the housing.
How much battery do I have left?
How to see if the breast pump still has a battery

Check battery status
You can check the battery status of the LIINI® Breast pump by holding down both touch buttons “Increase vacuum” and “Decrease vacuum” simultaneously for at least 2 seconds. The LED display then shows you the battery status.
- 1x LED light: 20 % battery
- 2x LED light: 40 % battery
- 3x LED light: 60 % battery
- 4x LED light: 80 % battery
- All LED lights: 100 % charged
If the LED lights are flashing, the battery level is very low. The breast pump must be charged.

Guarantee
LIINI® stands for quality.
The products are guaranteed for a total of 24 months from receipt of the order. Wearing parts are completely excluded from the warranty.
Wear and tear parts are
- Battery (The battery of the device has a service life of approx. 500 full charging cycles. After this, the battery will still provide approx. 80 % of its original power).
- Seals (adapter and bottle warmer)
The warranty is also excluded:
- If the defect is due to improper handling or use of the product that does not correspond to normal use.
- To ensure the longevity and safety of the bottle warmer, it is important that they are used in accordance with the manual and our manufacturer’s instructions. We would like to point out that permanently connecting the battery-powered device to a power source over a longer period of time, especially overnight, will lead to an impairment of the battery performance and service life as well as to greatly increased wear and tear. In such a case, all guarantee and warranty claims are excluded!
- If the defect is due to a malfunction caused by incorrect operation and is not in accordance with the instructions in the relevant user manual
described in the operating instructions. - If the defect is due to external intervention, in particular repairs and interventions by persons not authorized by LIINI GmbH
have been authorized. - If the product has been damaged due towater contact / water damage.
- Normal signs of wear and tear do not invalidate the warranty.
LIINI GmbH can provide the warranty either by partial (e.g. spare parts such as seals) or complete replacement with an equivalent product.
In order to check the warranty claim, the customer must open a ticket under the corresponding category “Problem with device / defect” in the ticket system at www.LIINI.ch/support and provide the following evidence:
- Video showing the problem
- Figure 1: Front of the device
- Figure 2: Rear of the device
- Figure 3: Underside of the device
- Figure 4: Heating plate of the appliance
If LIINI GmbH discovers any damage to the appliance (e.g. misshapen heating plate, untypical scratches or dents, etc.), any warranty is excluded.
By submitting the ticket, the customer confirms that all details are true. LIINI GmbH reserves the right to take appropriate legal action should it become apparent during the processing of the warranty claim that there is evidence of warranty fraud.
Manufacturer identification & contact address
According to the Product Safety Act ProdSG
Responsible for the import and distribution of all products:
Contact address
LIINI GmbH
(LIINI Sàrl) (LIINI Sagl) (LIINI LLC)
Bahnhofstrasse 21
4571 Lüterkofen
UID: CHE-131.522.878
Commercial Register Office: Cantonal Commercial Register of the Canton of Solothurn
VAT ID for the EU: DE352084049
Tax number at the Constance tax office: 09417/18455
VAT number: CHE-131.522.878 VAT
EU authorized representative
According to the Product Safety Act ProdSG
*Exclusively for contact by authorities*
ProductIP AR Services
Galvanistraat 1
6716 AE Ede
The Netherlands
Related guides
Feeding Feeding
Clogged Ducts, Milk Blisters and Mastitis: How to Spot and Relieve Them
Clogged ducts, milk blisters, or mastitis? How to recognize them, what helps right away, which old tips are outdated, and when to seek medical help.9 min read Feeding